
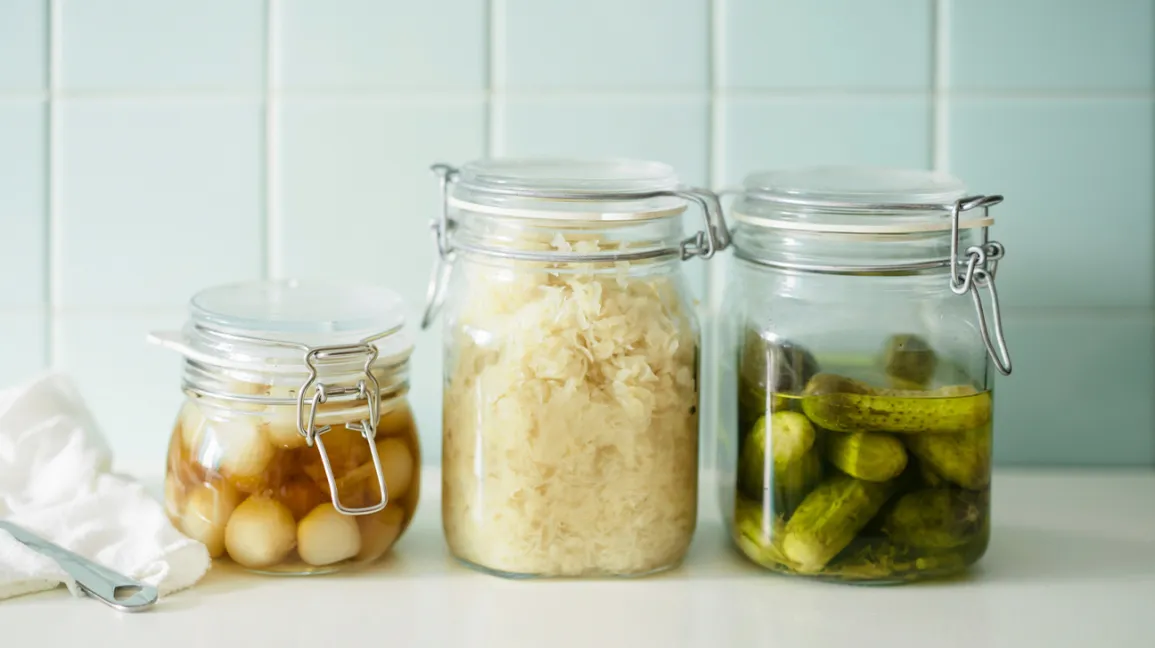
A productive garden has a way of overwhelming a kitchen all at once. Tomatoes ripen by the basketful, zucchini seems to double overnight, and suddenly you are staring at more food than your household can eat fresh in a week.
Preserving that harvest is what turns a few intense weeks of abundance into meals you can enjoy all year. The three most common methods, canning, freezing, and fermenting, each have their own strengths, and most home preservers end up using all three depending on the food.
This guide breaks down how each method works, which is right for which foods, and the safety basics every beginner needs before getting started.
Freezing: The Easiest Place to Start
Freezing requires no special equipment beyond a freezer, freezer-safe bags or containers, and occasionally a pot for blanching. It is the method most beginners should try first.
Most vegetables benefit from blanching, a brief dunk in boiling water followed immediately by an ice water bath, before freezing. This step stops the enzyme activity that would otherwise degrade color, texture, and flavor in the freezer.
What Freezes Well
● Berries, corn, peas, and green beans, which hold texture reasonably well after thawing
● Chopped herbs, often frozen in oil or water in ice cube trays for easy portioning
● Cooked sauces, soups, and stocks, which freeze and reheat with almost no quality loss
● Shredded zucchini and summer squash, useful for baking well into winter
What Does Not Freeze Well
● Lettuce and other watery salad greens, which turn limp and unpleasant
● Raw potatoes, which develop a grainy, unappealing texture
● Cucumbers, which lose their crispness entirely
Spread produce in a single layer on a tray to freeze before transferring to bags. This one step prevents everything from fusing into a single solid clump, which makes portioning out what you need far easier later.
Canning: For Long-Term, Shelf-Stable Storage
Canning uses heat to destroy spoilage organisms and creates a vacuum seal that keeps food shelf-stable for a year or more without refrigeration. It requires more equipment and more careful attention to safety than freezing.
Water bath canning is used for high-acid foods: jams, jellies, pickles, salsas with enough acid, and most fruits. The boiling water temperature is sufficient to make these foods safe.
Pressure canning is required for low-acid foods: most vegetables, meats, and beans. These foods need the higher temperatures only a pressure canner can reach to destroy the spores that cause botulism, a serious and potentially fatal illness.
Always use a tested, current recipe from a reputable source such as a university extension office or the National Center for Home Food Preservation. Canning is the one area of home preservation where improvising with ingredient ratios or processing times carries real risk.
Check every seal after jars have cooled by pressing the center of the lid. A lid that flexes or pops has not sealed properly, and that jar should go straight into the refrigerator to be eaten soon rather than stored on a shelf.
Fermenting: Preservation With a Flavor and Health Bonus
Fermentation preserves food using naturally occurring bacteria that produce lactic acid, creating an environment too acidic for spoilage organisms to survive. It requires no heat and very little equipment.
Sauerkraut and fermented pickles are the classic beginner projects. Both simply need vegetables, salt, and a way to keep everything submerged under a brine while airborne yeasts and molds are kept off the surface.
Keep fermenting vegetables fully submerged under their brine at all times, since exposure to air is what allows unwanted mold to take hold. A fermentation weight or a clean, brine-filled bag pressed onto the surface handles this easily.
Taste your ferment periodically starting around day three or four. It is ready when the flavor and texture suit you, and it can then move to the refrigerator, where fermentation slows dramatically and the food will keep for months.
Dehydrating: A Fourth Option Worth Knowing
Dehydrating removes moisture from food, which starves the bacteria, yeasts, and molds that need water to grow. It is one of the oldest preservation methods and works particularly well for herbs, fruit, and certain vegetables.
A countertop dehydrator makes the process simple and consistent, though a low oven set to its lowest temperature with the door propped slightly open can work for smaller batches. Herbs are the easiest starting point, since most simply need a warm, dry space with good airflow.
Fruit leathers, dried apple rings, and jerky are popular beginner projects once you have the basic technique down. Properly dried and stored in an airtight container, dehydrated foods can last a year or more in a cool, dark pantry.
The main thing to watch for is drying food thoroughly enough. Fruit or vegetables that still feel tacky or leave moisture on your fingers when pressed are not fully dry, and storing them that way invites mold growth within weeks.
Choosing the Right Method for Each Food
● Tomatoes: canning for sauce and whole tomatoes, freezing for a quick option with less effort
● Cucumbers: fermenting for classic sour pickles, water bath canning for sweeter vinegar pickles
● Green beans and most vegetables: pressure canning or freezing, never water bath canning
● Berries and stone fruit: freezing for whole fruit, water bath canning for jams and preserves
● Cabbage: fermenting into sauerkraut, or freezing after blanching for later cooking
Basic Equipment Worth Owning
A large stockpot doubles as a water bath canner for most beginners, and a dedicated canning rack keeps jars from touching the direct heat of the pot’s bottom, which can cause uneven processing or cracked glass.
A pressure canner is a separate, more specialized piece of equipment and a genuine investment, but it opens up an entire category of vegetables and meats that water bath canning simply cannot process safely.
A wide-mouth funnel, a jar lifter, and a magnetic lid wand are inexpensive tools that make the whole canning process meaningfully less fussy and reduce the chance of a burn or a dropped jar.
For fermenting, a simple wide-mouth jar with a fermentation weight and an airlock lid is enough to get started, though plenty of successful ferments are made with nothing more than a jar, a plate, and a clean stone.
Basic Safety Rules That Apply to All Methods
Start with the freshest, highest-quality produce you can, since no preservation method improves food that is already past its prime. Preservation locks in quality, it does not create it.
Label everything with the food and the date it was preserved. It is easy to lose track of what is in an unmarked jar or freezer bag six months down the line.
When in doubt, throw it out. This applies especially to canned goods showing any sign of bulging lids, off odors, unusual color, or cloudiness that was not present when the jar was sealed.
Building a Preservation Routine
Most successful home preservers do not try to master every method in a single season. Start with freezing to build comfort, add water bath canning for jams and pickles the following year, and layer in pressure canning and fermenting once you have a feel for the rhythm of your garden’s harvest.
This kind of layered approach is exactly how most people build toward a fully stocked pantry as part of a broader move into homesteading, adding one preservation skill at a time rather than trying to do it all in a single overwhelming season.
Final Thoughts
Freezing, canning, and fermenting each solve a different preservation problem, and a well-stocked homestead kitchen eventually uses all three depending on what the garden produces.
Start with the easiest method for the food in front of you, follow tested guidance for anything involving canning, and build your skills one harvest at a time.


